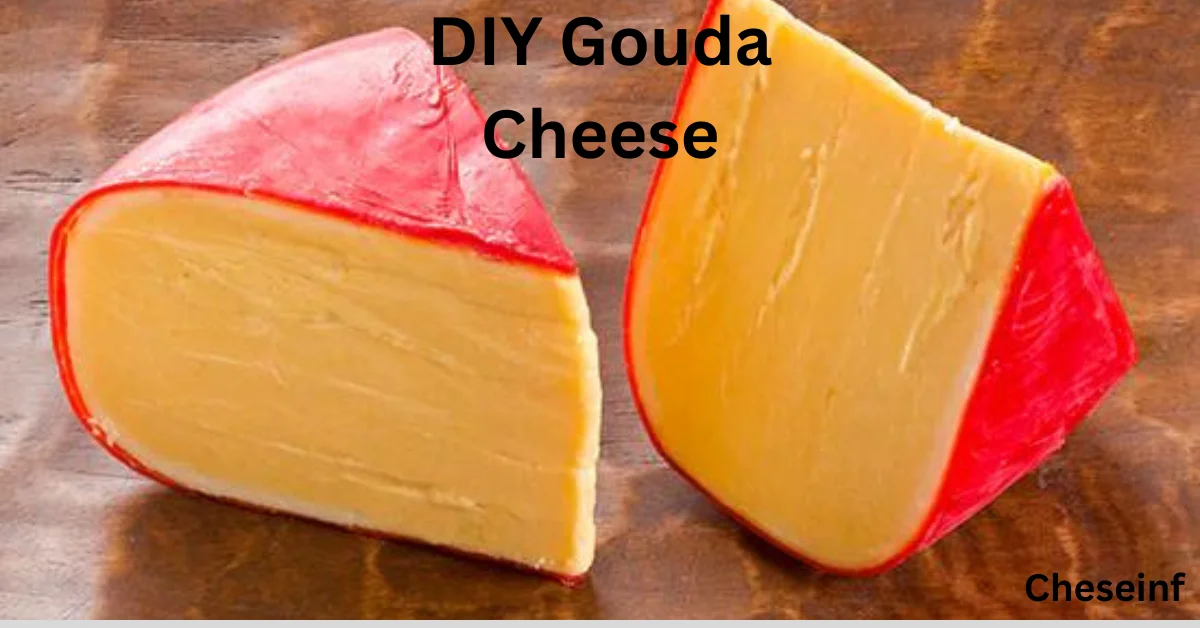
You have to admit, there’s something special about a good piece of Gouda Cheese. That creamy, slightly sweet, nutty flavor is just perfect. Have you ever thought about making your own gouda at home? It might sound tricky, but it’s actually a fun weekend project that any cheese lover can handle.
You’ll need some basic ingredients like milk, rennet, and cheesecloth, and a lot of patience while it ages. But just think about how satisfying it will be to slice into your very own homemade gouda.
This guide will take you through the whole process, step-by-step. Even if you’ve never made cheese before, don’t worry. With the right ingredients and a little care, you’ll be a gouda expert in no time. So let’s dive in and create some cheese magic!
Why Make Your Own Gouda Cheese?
Superior Taste:
There’s nothing quite like the taste of homemade Gouda cheese. When you make your own, you can customize the flavor to your liking by adding herbs, spices or other mix-ins. Homemade Gouda also tends to be creamier and richer in flavor than most store-bought versions.
Cost Effective:
Purchasing blocks of artisanal Gouda Cheese can put a dent in your wallet. Making your own allows you to produce pounds of delicious cheese for a fraction of the cost. With a little practice, you’ll be churning out rounds of Gouda for just a few dollars per pound.
Fun and Rewarding:
Cheesemaking is an enjoyable hobby that allows you to unleash your inner foodie. Seeing your curds transform into a wheel of homemade Gouda Cheese and then aging it to perfection is an incredibly rewarding experience for any cheese enthusiast.
Impress Your Friends:
Your homemade Gouda makes a great gift or addition to any cheese board. Your friends and family will be amazed that you made such a gourmet cheese right at home. Whip up a batch for your next dinner party or holiday get-together and you’ll be the star of the show.
Cheesemaking does require some initial investment in equipment and ingredients, but the rewards of your homemade Gouda will make it worthwhile. With some milk, culture, rennet and patience, you’ll be well on your way to becoming an award-winning home cheesemaker. Your taste buds will thank you!
Gouda Cheese Ingredients and Equipment You’ll Need:

To make Gouda cheese at home, you’ll need just a few simple ingredients along with some basic equipment.
Ingredients:
- The key ingredients for homemade Gouda are high-quality milk, mesophilic culture, rennet, and salt.
- You’ll want to use milk from cows, goats, or sheep that hasn’t been ultra-pasteurized.
- Mesophilic culture contains bacteria that give Gouda its distinctive flavor.
- Rennet contains enzymes to coagulate the milk. And flake salt is used for taste and preservation.
- You’ll also need distilled water, calcium chloride (for goat’s or sheep’s milk), and coloring (optional).
Equipment:
Essential equipment includes a large pot or Dutch oven, thermometer, mold, cheese press, and ripening containers. You’ll need a pot big enough to heat several gallons of milk. A thermometer helps monitor the temperature at different stages. A mold gives shape to the curds, and a press helps the curds fuse together. Finally, ripening containers allow the cheese to age and develop flavor.
Optional equipment includes a curd cutting knife, cheese wax or vacuum sealer, and a cheese grater or slicer. With some simple ingredients and basic equipment, you’ll be making delicious Gouda cheese in no time. The key is starting with high-quality milk and carefully monitoring time and temperature. If you follow a trusted recipe and use these essential ingredients and equipment, your first batch of homemade Gouda is sure to be a success. Happy cheese making!
Step-by-Step Instructions for Making Gouda at Home:
To make homemade Gouda cheese, you’ll need a few basic supplies: fresh milk, mesophilic cheese culture, rennet, and salt. Let’s get started!
Gather the Ingredients:
You’ll need about a gallon of fresh, whole milk. Avoid using ultra-pasteurized milk, as it won’t curdle properly. You’ll also need mesophilic cheese culture, rennet, and flake sea salt. Make sure all your equipment is sterilized before getting started.
Heat the Milk:
Pour the milk into a sterilized pot and heat it to 86 F. This is the perfect temperature for the cheese cultures to thrive. Monitor the temperature closely with a kitchen thermometer. Once it reaches 86 F, remove from heat.
Add Cultures and Rennet:
Stir in the mesophilic cheese culture and let it sit for 5 minutes. Then add about 5 drops of rennet, gently stirring for 30 seconds. Cover and let it sit undisturbed for about an hour until it curdles.
Cut the Curds:
Once curdled, use a knife to cut the curds into 1/2-inch cubes. Let them sit for 10 minutes so they can release more whey. Then gently stir them for 20 minutes while maintaining a temperature of 86 F. The curds will release more whey and shrink in size.
Cook and Stir the Curds:
Now it’s time to cook the curds. Place the pot back on low heat and slowly raise the temperature to 100 F over 30 minutes, stirring frequently. The curds will continue releasing whey and firming up. Once the curds reach 100 F, remove from heat.
Strain and Salt the Curds:
Line a colander with cheesecloth and strain the curds, reserving some of the whey. Transfer the curds to a mold and press at 10 pounds of pressure for 15 minutes. Remove, unwrap, flip, rewrap, and press at 40 pounds for 12 hours. Remove :from mold, unwrap, and salt all surfaces.
Age the Cheese:
Age your Gouda for a minimum of 4 weeks. Turn the wheel over daily so it ages evenly. Enjoy your homemade Gouda! When aged, it will have a slightly crumbly and caramel-like texture and a nutty, buttery flavor. Homemade cheese – it doesn’t get much better than that!
Tips for Customizing and Flavoring Your Homemade Gouda:
Once you’ve mastered the basics of making Gouda cheese, it’s time to start experimenting! There are so many ways to put your own spin on this cheese and develop flavors that suit your tastes.
Add spices and herbs:
Herbs and spices are an easy way to jazz up your Gouda. After molding and before waxing the wheel, roll the cheese in crushed red pepper flakes, chopped fresh or dried herbs like rosemary and thyme, or spices such as paprika, garlic powder or mustard seeds. The flavors will infuse into the cheese as it ages. You can also make herb-infused olive oil and brush it on the wheel before waxing.
Smoke the cheese:
For a smoky Gouda, cold-smoke the wheel for up to 24 hours after the initial brining period. Use wood chips like hickory, mesquite or apple wood in a smoker, grill or smokehouse. The smoky notes pair especially well with the nutty, buttery flavor of Gouda.
Wash the rind:
- As the Gouda ages, wash the rind with a saltwater or alcohol solution every few days to encourage the growth of flavorful molds and yeasts.
- A saltwater wash will produce an orange rind and add a tangy, savory flavor.
- Brandy, beer or wine washes will impart fruity, earthy notes.
- The longer you age the cheese, the more complex the flavors will become.
- Add cumin or caraway seeds For a traditional Dutch-inspired Gouda, add cumin, caraway seeds or a combination of the two to the curds before molding and pressing the wheel.
- The seeds will impart a warm, nutty, aromatic flavor as the cheese ages. Use 1/2 to 1 teaspoon of seeds per gallon of milk. The seeds can also be sprinkled on the surface of the wheel before waxing.
- With some experimentation, you’ll be making delicious custom Goudas in no time.
- What flavors will you infuse into your next batch? The possibilities are endless!
Storing and Serving Your DIY Gouda Cheese:

Storage:
Now that you’ve aged your Gouda to perfection, it’s time to enjoy it! First, you’ll need to properly store your cheese. Place it in an airtight container, like an acrylic or glass cheese dome. This will keep air away from the cheese while still allowing it to breathe. Store the cheese in the refrigerator, where it will last 2 to 4 weeks. Be sure to keep the cheese away from strong-smelling foods, as it can easily absorb other flavors.
Serving Suggestions:
A well-aged Gouda cheese pairs nicely with fruits like apples, pears and grapes. Set out a cheese board with your homemade Gouda along with fresh and dried fruits, nuts, and crackers or bread. The slightly sweet, caramelized flavors of the aged Gouda cheese also pair wonderfully with medium-bodied red wines like Pinot Noir, Merlot or Cabernet Sauvignon.
You can also incorporate Gouda into recipes. Make a grilled cheese sandwich using thick slices of artisanal bread and your homemade cheese. Grate or shred Gouda to top salads, pastas, or casseroles. Add Gouda to soups, stews and chilis during the last few minutes of cooking for a creamy, melted texture.
Entertaining with Gouda:
Your homemade Gouda cheese also makes a wonderful gift for family and friends. Wrap wedges of the cheese in cheese paper, butcher paper or wax paper and tie with kitchen twine for an artisanal look. Include pairing suggestions and a note about the cheese-making process. Homemade cheese kits or cheese boards also make great gifts for the cheese lover in your life.
Aging and enjoying cheese at home is a rewarding experience for any cheese enthusiast. Now that you’ve discovered how to make Gouda cheese in your own kitchen, you can start experimenting by creating your own signature flavors and custom aging profiles. Homemade cheese is always more appreciated when shared—so get creative and share the joy of cheese making with others!
Conclusion:
Making your own Gouda cheese at home is definitely within reach for any cheese lover willing to dedicate a weekend to this rewarding DIY project. With the right ingredients, equipment, and techniques, you’ll create homemade Gouda that tastes even better than what you can buy at the store.
The hands-on process will give you a new appreciation for this delicious cheese. Just make sure to follow the steps carefully and have patience during the aging process. Before you know it, you’ll be a Gouda expert. The sense of accomplishment and pride from crafting your own gourmet cheese makes this a weekend well spent.

where we’re dedicated to all things cheese! From easy DIY recipes to exploring different cheese types, we’re here to inspire and empower cheese lovers worldwide. Join us as we celebrate the joy of cheese-making and discovery
